How do you know if you have a bricked PSP?
Generally if you have a bricked PSP, your Sony PlayStation Portable will still switch on, as in the green light shows but there will be no picture showing on the LCD screen and there will also be no sound. The green light will stay on for approximately 30-40 seconds and then shut down.
A PSP generally becomes bricked if it is turned off or runs out of battery during a firmware/software update. The best way the unbrick your PSP is to buy a Pandora battery and Magic Memory Stick. Using these two items you will then be able to unbrick/reboot your PSP to full working order. If you have any questions regarding unbricking a PSP or where to purchase Pandora Batteries and Magic Memory Sticks from please email me.

Showing posts with label Repairing Your PSP. Show all posts
Showing posts with label Repairing Your PSP. Show all posts
Monday, August 23, 2010


Saturday, May 22, 2010
PSP Advice - Replacing a PSP LCD screen
This post is based on replacing a LCD screen on an original PSP
Again for this you will need your trusty small Flathead screwdriver. Gently on the left hand side slide your screwdriver into the groove between the screen and the LCD housing as pictured below. There are two places to do this, one at the bottom left hand side and again on the top left hand side.
Again for this you will need your trusty small Flathead screwdriver. Gently on the left hand side slide your screwdriver into the groove between the screen and the LCD housing as pictured below. There are two places to do this, one at the bottom left hand side and again on the top left hand side.

Doing this will pop the tabs on the LCD housing bracket that is holding the LCD screen in place. You will then be able to lift the left hand side of the LCD screen up then gently pull the LCD screen so it comes out of the other side. Once this is done you can tilt the LCD screen so it sits upside down out of the metal LCD housing bracket as pictured below.

The screen is connected to the motherboard by two connector cables, but you have to be careful at this stage so that you do not pull the screen connector cables from there clips. This could damage both the screen cables and the clips on the motherboard, then a simple repair turns into a major one.
The larger cable flex is for the screen itself, the smaller one is for the back light. With your Flathead screwdriver lift the connector clips and this will then release the LCD screen. Again be gentle doing this, too much pressure and you could damage the clip.

If you are replacing your LCD screen simply take the new one out of the packet, place the screen cable flex's back in the connectors, the back light cable flex needs gently pushing in with the screwdriver, if you look closely at one it has little arms on the side which you can use just to slide in. Once the cables are in just do the reverse of above instructions and you will then have a fully functioning PlayStation Portable. If you are removing the screen to carry out another repair, place the screen face down on the PSP faceplate, this will then keep it free of dust and scratches etc.
Saturday, May 08, 2010
How To Open A PSP (2000 series)
This is based on opening up a 2000 series PlayStation Portable.
Much is the same as opening a 1000 series PlayStation Portable, there are still seven screws you need to remove although not in the same positions as the forementioned 1000 series.
There are only two screws in the battery compartment, pictured below
Much is the same as opening a 1000 series PlayStation Portable, there are still seven screws you need to remove although not in the same positions as the forementioned 1000 series.
There are only two screws in the battery compartment, pictured below

There are a further two screws at the top of the console

One on the bottom
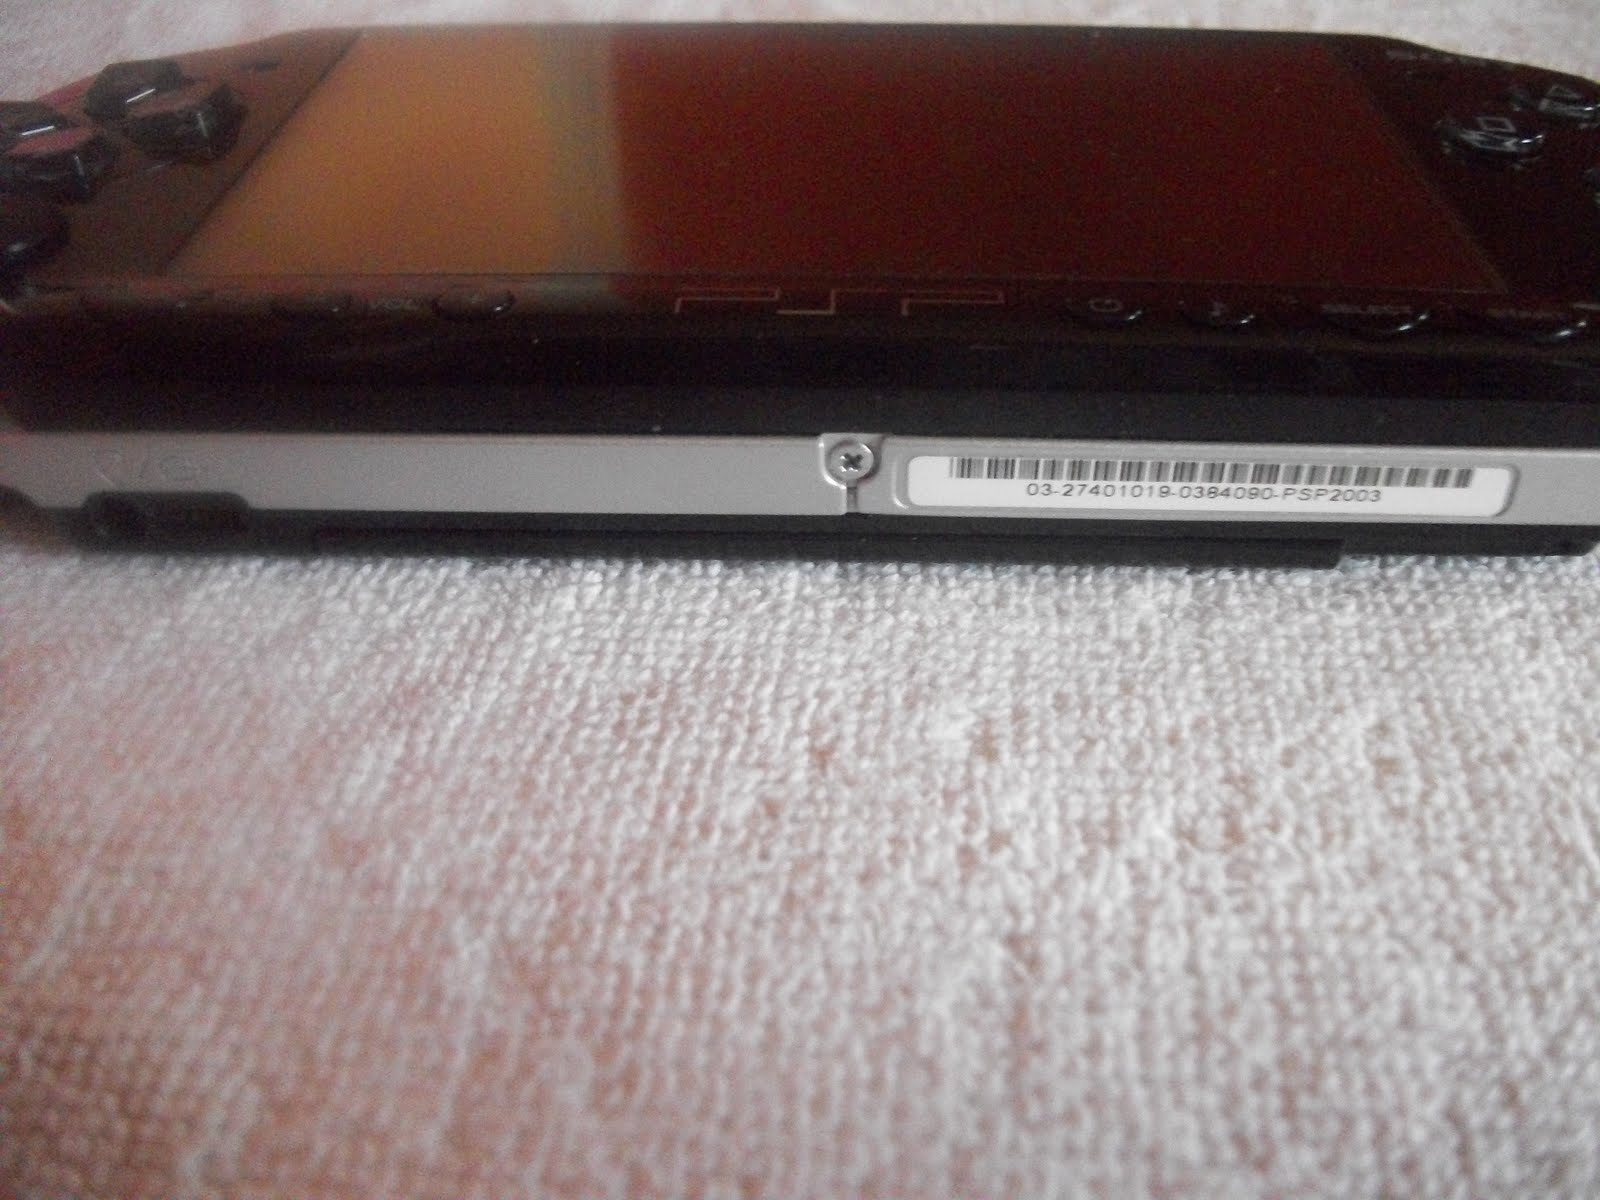
and lastly two more on the other side of the UMD door.

So there are the seven screws, again the only tool you need to remove these screws is a Phillips 000 screwdriver. Once you have removed the above screws you can remove the front faceplate and then continue to do whichever repair is required, of these I intend to go through in more detail in future posts.
Friday, April 30, 2010
Why Repair a PSP?
The most obvious reason is cost, it can be considerably cheaper for you to repair your PSP rather than send it away to be fixed, unless it is under warranty anyway. A Playstation Portable console is not a cheap item to purchase, so the last thing you want to be doing is either sending it away for costly repairs of even purchasing a new PSP because your current one is faulty.
There are many console repair companies on the internet and obviously Sony themselves but there is no reason why most repairs can not be done by yourself at home in your spare time.
Now it is not for everyone, not to say that you need a massive amount of technical knowledge but some of the repairs can become quite complicated, ie, motherboard issue or replacing a UMD drive. It is okay taking a PSP apart but you need to be able to put it back together again, you need to keep track of which screws go where and that all you connector cables/ribbons are connected, but it is all possible with a little bit of time and patience.
In most cases you can get all the replacement parts you need of the internet and cheaply too, especially from Ebay. If you are in any doubt about fixing a PSP console youself then ofcourse let a professional look at it for you, but otherwise give it go and if you find you can fix the problem yourself you will find it extremley rewarding whilst also saving a bit of money in the process.
There are many console repair companies on the internet and obviously Sony themselves but there is no reason why most repairs can not be done by yourself at home in your spare time.
Now it is not for everyone, not to say that you need a massive amount of technical knowledge but some of the repairs can become quite complicated, ie, motherboard issue or replacing a UMD drive. It is okay taking a PSP apart but you need to be able to put it back together again, you need to keep track of which screws go where and that all you connector cables/ribbons are connected, but it is all possible with a little bit of time and patience.
In most cases you can get all the replacement parts you need of the internet and cheaply too, especially from Ebay. If you are in any doubt about fixing a PSP console youself then ofcourse let a professional look at it for you, but otherwise give it go and if you find you can fix the problem yourself you will find it extremley rewarding whilst also saving a bit of money in the process.
Subscribe to:
Posts (Atom)